


GIF are, without a doubt, one of the greatest inventions to emerge from the Internet. GIF can be found on social media channels, landing pages, email campaigns, and instant messaging to convey every emotion and reaction imaginable. Not sure how or why you’d want to make GIFs?
What exactly are GIFs?
A GIF is a continuously looping animated series of images or soundless videos. GIF stands for Graphic Interchange Format and was invented in 1987. A GIFs file always loads instantly, unlike a video, which requires you to click on a play button.
GIFs were once considered cringe-worthy on the Internet. However, with the rise of social media, emojis, and memes, GIFs have made a comeback. They are a great way to say what you’re thinking, feeling, or thinking about in a matter of seconds.
Because GIFs are so short, they don’t take up valuable page-load speed on a webpage.
GIFs also have the following advantages:
- It takes very little time to make.
- This allows you to display your brand’s personality.
- Entertain and engage your audience.
What more could you want?
How to Create a GIF on an iPhone
GIFs will most likely be dropped into social streams and shared with contacts via iMessage.
GIPHY has a plethora of GIFs for you to browse, but if you want to get creative, here’s how to make GIFs on your iPhone.
1. Open the camera app and enable Live Photos by tapping the round circle in the top right corner.
2. Using your iPhone, take a live photo of the object, person, scene, etc. that you want to turn into GIFs.
3. Launch the Photos app and navigate to Live Photos.
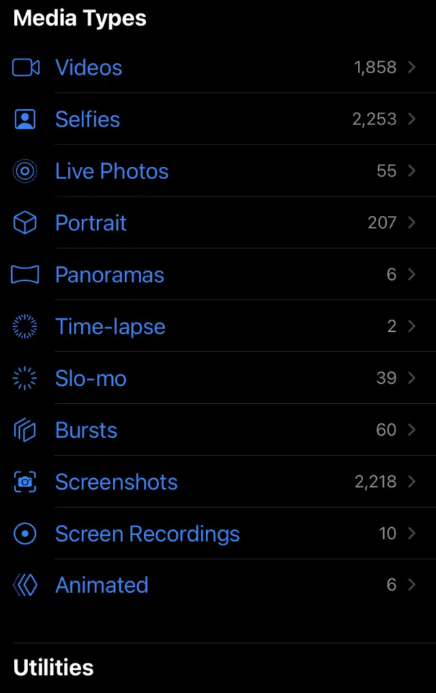
4. Choose the photo you want to convert into a GIF.
5. If you’re using iOS 15, open a drop-down menu by tapping Live in the top left corner. Swipe up to see the menu options if you’re using iOS 14 or earlier.
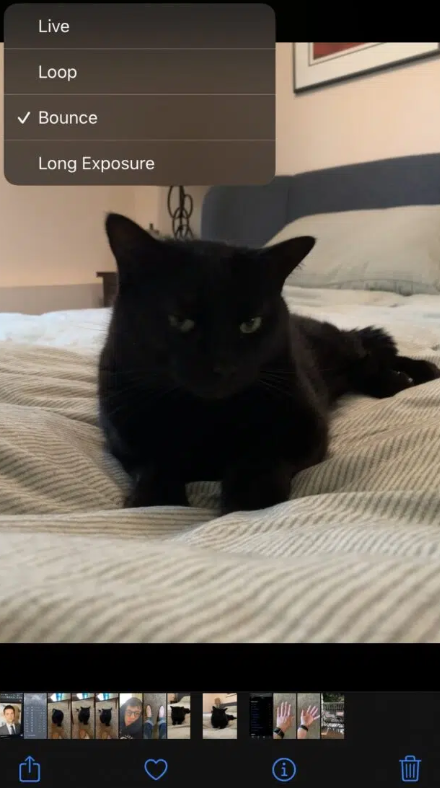
6. To convert your photo to a GIF, select Loop or Bounce.
So there you have it! You can now send your newly created GIFs via iMessage or AirDrop.
If you’ve created one to share on social media, upload your GIFs to a platform like GIPHY. This allows a larger audience to see and share your new creation.
How to Create a GIF from a Video
Technology hasn’t advanced far enough to allow iPhone users to create a GIF from a video. However, there are a number of online tools available to help you convert a video to a GIF.
GIPHY, a well-known GIFs platform, is our favorite. Here’s how to use GIPHY to turn a video into GIFs.
1. Access your GIPHY account by clicking the button in the upper right corner. If you don’t already have a GIPHY account, it only takes two seconds to create one.
2. Select “Upload” to upload your video to GIPHY.
3. Click “Choose File” to import a video from your computer or mobile device. If you want to add a video from a URL, you can do so.

4. After you’ve uploaded your video, you’ll be taken to the next screen where you can trim it.
5. Drag the sliders to the desired length for your GIF. Keep in mind that shorter is sweeter!
6. Press the Continue Uploading button. Then you’re taken to a screen where you can add tags to your GIF, make it private, add a source URL, or add it to a collection.
You are now ready to share your GIF with the rest of the world. That simple!
Create a GIF in Photoshop
Using Adobe Photoshop to create a GIF is a more advanced method. The following steps may differ slightly depending on the version you’re using, but here’s how to make a gif from a video in Photoshop:
- Open Adobe Photoshop.
- Go to File > Import > Video Frames to Layers to begin.
- Select the video segment you want to use, then check the Selected Range Only box in the dialogue box.
- Trim the controls to show only the part of the video from which you want to make a GIF.
- Make sure the Make Frame Animation box is selected. Click the OK button.
- Navigate to File > Export > Web Save.
How to Create an Android GIF
Users of Android, rejoice! You, too, can create a lovely GIF on Android.
On Android, there are two ways to create a GIF. The first method is applicable to any image that needs to be animated. The second is only for photos taken with your Android’s camera.
How to Create a GIF from an Image in Android’s Gallery
- Launch the Gallery app.
- Long press and select multiple photos to select the images you want to turn into a GIF.
- Choose GIF after selecting “Create.”
How to Create a GIF from Photos on Android Using the Camera
- Launch the Camera app.
- Then, in the top left corner, tap on Settings.
- Then, tap Swipe Shutter to close the window (take a burst shot).
- Select Create GIFs before exiting the Camera Settings menu.
- When you’re ready to make your GIF, press and hold the shutter button until the GIF is finished.
Making a GIF from a YouTube video
Every minute, YouTube streams nearly 700,000 hours of video. With so much content available, what better place to create your GIFs than from a YouTube video? Here’s how it’s done:
1. Go to YouTube and search for the video you want to convert into a GIF.
2. Copy the URL, then go to Giphy.
3. In the top right corner, click “Create.”
4. Paste the YouTube URL into the “Any Url” box.
5. Then, using the sliders, adjust the right-hand screen to display the video clip you want to convert to GIFs.
6. After that, click Continue to Decorate.
7. You can edit your GIFs here by adding details such as text on your GIFs (caption), stickers, filters, and drawings.
After you’ve finished editing your GIFs, click Continue to Upload.
9. Enter any tag information and choose whether your new GIFs should be public or private, then click upload to GIPHY.


